In Part 1 of this series, we discussed how using workflows along with the Approval feature of Extranet Collaboration Manager for SharePoint 2010 (ExCM) can add an additional layer of security to your site when using both Invitation and Anonymous Registrations. We also discussed that when using invitations, there is most likely an existing business relationship with the invitee, and in general the thinking would be “if you’re invited, you’re approved.” But what if we only wanted to approve ANONYMOUS Registrations and allow invited users immediate access to the Extranet site?
To achieve this, we need to create a more advanced approval workflow using Microsoft SharePoint Designer 2010 (SPD). SPD can be downloaded free from Microsoft’s site:
http://www.microsoft.com/en-us/download/details.aspx?id=16573
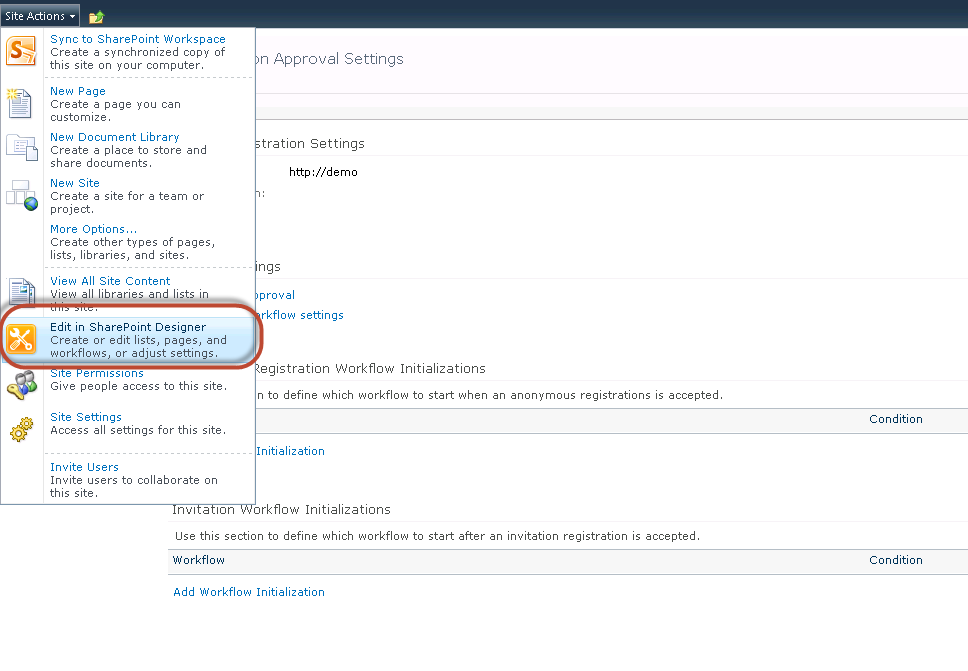
Assuming you already have approval turned on from the previous blog post, you first need to open your site in SharePoint Designer 2010:

On the next screen, you simply uncheck the “Hide from
browser” option and then save:

Now you can go to the Workflows site object and begin creating
your workflow. From the workflow screen,
select List Workflow and then “Registrations:”

Next, give the workflow a name and click OK:

SharePoint Designer will then begin downloading data from
your site, which could take a while depending on your configuration. When it’s finished, the following screen will
appear. Select “Action” and then scroll
down and choose “Set Content Approval Status:”

In the Step 1 box, select “this status” and choose
“Approved.” You can optionally add
comments if you wish. Once that’s
complete, you need to save it and the publish it to your site.


Once that’s complete, navigate back to your ExCM site, go to
“Registration Approval Settings,” and click on “Add Workflow Initialization”
under Invitation Workflow Settings:


To test, I sent an invitation to a new user and registered
another anonymously. As you can see from
the screenshot below, the invited user was approved automatically while the
anonymous registration still needs to be reviewed and approved manually:

In summary, by using SharePoint Designer you can create more
advanced workflows to use in conjunction with the Approval feature of Extranet Collaboration Manager for SharePoint 2010 (ExCM). For this example, we assumed that you had
already established a business relationship with your invited users and
therefore did not need to also approve them after registration. To address that, we showed you how to create
a new workflow in SharePoint Designer to automatically approve Invitation
Registrations, while still requiring Anonymous Registrations to be reviewed and
approved.