 by Matthew McBride
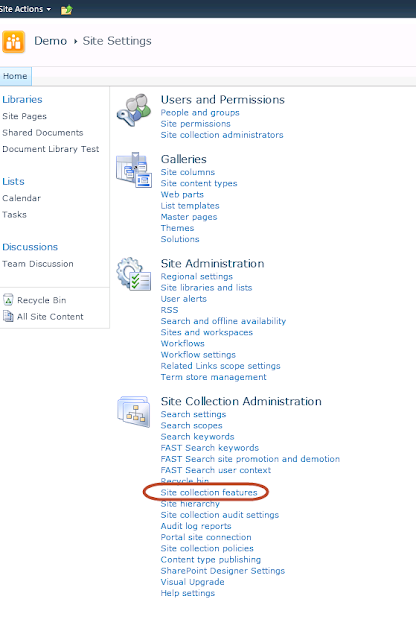
Extranet Collaboration Manager (ExCM) 2010 is activated at the Site Collection level. This
is easily done in the Site Settings area of the User Interface (UI) for a
single site:
First, let’s activate the ExCM feature on our
site using the SharePoint Management Shell. Here is the syntax:
Enable-SPFeature -Identity ExCM_Extranet -Url
$URL
After running the command, I can now see the
feature has been activated:
Now we can move on to enabling and configuring
our invitation settings via PowerShell. By default, invitations are not
enabled, so this is what we see under “Registration Settings:”
The utility we need can be downloaded from here:
And the syntax is as follows:
.\Set-ExCMInvitationRegistrationSettings.ps1 -url
http://siteurl -allowInvitationRegistration $true -invitationUrlZone
"Default" -invitationExpirationLength 7
Here is what my command looks like:
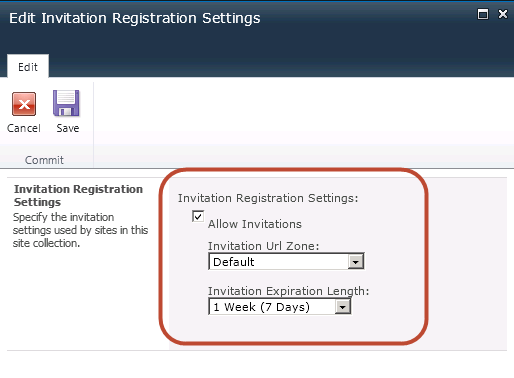
If I go back and look at the Invitation
Registration settings, I can see that it worked:
Now that we have the commands edited for our
environment, we could easily activate ExCM and configure some
common settings on numerous Site Collections very quickly.


